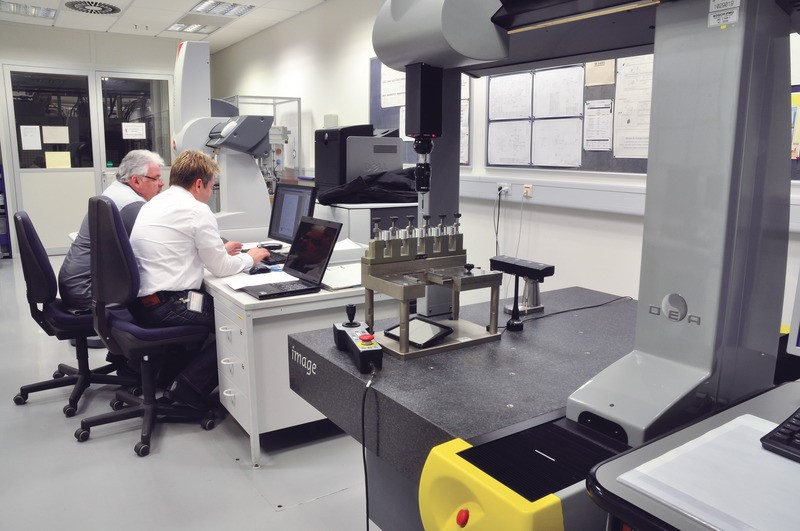

Individual components such as gears, gear housings and bearing bushings also need to meet stringent tolerance requirements. For example, tolerances for some features of the gear may need to reach 2 microns. The assembled unit can only perform very well when the parts are precisely matched.
Production personnel use dedicated gear inspection equipment, optical metrology tools and on-line measurement equipment to ensure high precision in all aspects. The constant temperature test room can provide higher precision in special cases. Each shift selects and detects a specific number of components from the production line. Rexroth uses the DEA GLOBAL Image 7.7.7 3D coordinate measuring machine to place the bearing bushing and casing characteristics (such as flatness, parallelism, cylindricity) under the microscope. In addition, the inspection shop's inspectors perform specialized inspections for new production runs or machine performance analysis.
311,Building 5,No.81,Meiyue Road,Waigaoqiao Free Trade Zone,Pudong,Shanghai,China
amy@labgages.com
021-50473900


About LAB | Cooperative Brand | Contact us | Sitemap

滬公網(wǎng)安備 31011502000213號

 滬ICP備12021537號-1
©2012-2024 LAB GAGES